This guide is intended to show how to scan a document to the network drive using the Canon Multifunction Devices.
Scanning from the Canon
- Type in your department’s ID code and press the Log In button.

- Press ShareScan button.

- On the eCopy ShareScan screen, you will see a scrollable settings menu on the left hand side. Use this menu to scroll through the three pages of settings and to set your scan settings, including size, settings, resolution, and paper size. When you have your document settings to your liking, make sure that the document(s) you want to scan is in the automatic document feeder or on the glass, and then press the scan button in the middle of the page (the scan button also indicates the scan destination, e.g. J:\TE201B Scans).

- The Canon printer will scan the document(s), and then show a preview of the document(s).

- There are a few action buttons on the left side of the preview screen.
- The top button, which is shaped like a diamond, will allow you to add pages.
- The second button, shaped like an X, deletes the current previewed page.
- The third button, with two blue arrows, allows you to rotate the document.
- The forth button, with a gear icon, allows you to change the settings of the scanned document. This has two tabs. Scanner Settings tab allows you to make changes to the settings you made prior to scanning. The Document Settings tab allows you to set the file format. You can choose between PDF, TIFF, JPEG, Word, Excel and XPS formats.
- The fifth button, with a magnifying glass icon, is a zoom button. Pressing the button once magnifies/zooms the document. Pressing the button a second time restores it to its original size.
- Once you have finished scanning, tap Next.
- Press the keyboard icon to open the on screen keyboard.

- Tap in the File Name box, and then use the on screen keyboard to enter your desired file name. When you are satisfied, tap the green checkmark button.

- Verify your file name is correct, and then press Send to save your file to the J drive.

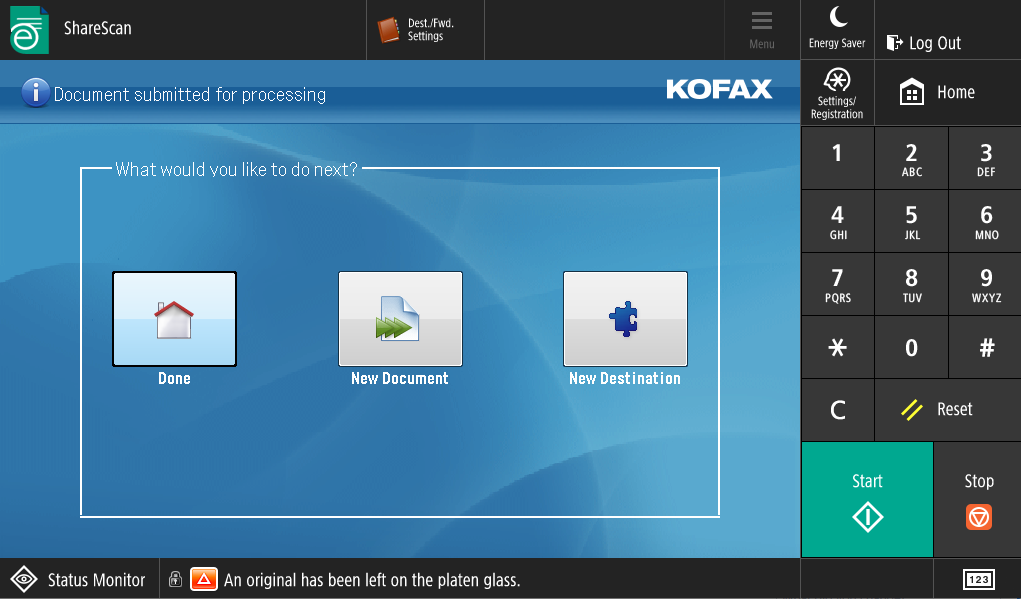
- Once the file is saved, you can choose Done, or press New Document to scan a different document.
- Remember to press Log Out button or the ID button on the Canon once you are finished to secure the printer.
Retrieving your scanned file
- Open your J:\ drive, then open the folder which corresponds to your Canon’s room number.
- Your file will have the name you gave it in step 6 above followed by an underscore ( _ ), the date you scanned it (in year, month, day order), and finally the time of day the document was scanned (in military time).
- For Example: If I scanned a document on February 6, 2021 at 1:30:55 (One-Thirty and Fifty-five seconds in the afternoon) and gave it the name Anne, my document would appear in my Canon_Scans folder as Anne_20210206133055.
Related articles
Content by label
There is no content with the specified labels